Installation
Download and subscription
Only two steps are necessary to be able to work with DocuTie:
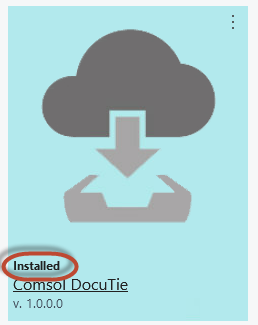
(1) Download DocuTie from the App Source and install it. You will find DocuTie in the extensions of your Microsoft Dynamics 365 Business Central. Make sure that you see the "Installed" flag.
(2) Set up a subscription. If your demo period ends or the number of active users of your Microsoft Dynamics 365 Business Central subscription has increased, a SmartNotification will draw your attention to that. Follow the link in the SmartNotification to complete or manage your DocuTie subscription.
Installation
If the installation of DocuTie has not been completed, do the following:
(1) Go to the Dynamics 365 Business Central extension management. To do this, either enter the term Extension Management in the central search page of Dynamics 365 Business Central or access "Setup and Extensions" from the menu Extensions.
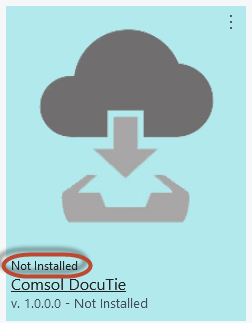
(2) The DocuTie logo still has the "Not Installed" flag. Click on the DocuTie logo:
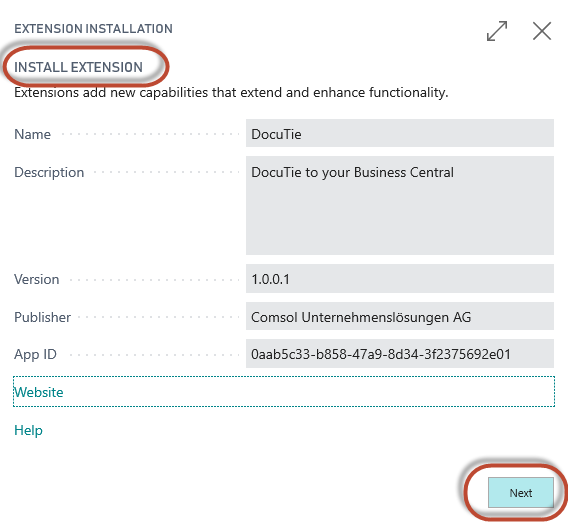
(3) A wizard will help you through the installation, choose the button Next:
(4) Choose your prefered language, confirm the terms and conditions and finish the wizard with the button Install:
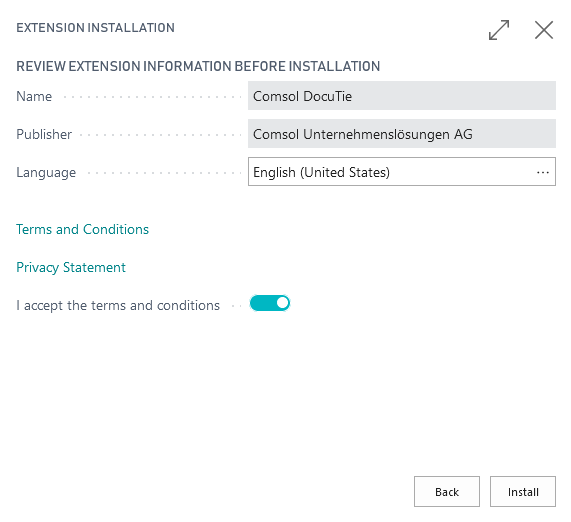
DocuTie supports the languages German and English.
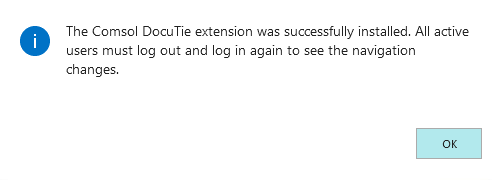
(5) A message will be shown if the installation has been successful. To use DocuTie all users have to reconnect to Dynamics 365 Business Central after the installation has been finished.
Setup
You will be able to use DocuTie without going through the setup pages. All important settings have been set during the installation.
In case you would like to change a setting, you will find the DocuTie setup in the central search page in Dynamics 365 Business Central or in the Dynamics 365 Business Central menu "Manual Setup" (if this is part of your Role Center).
Access the DocuTie setup via the central search page (1) and either the search term (2) DocuTie Einrichtung or the search term DocuTie setup (depending on the chosen language).

If the menu Einrichtung & Erweiterungen or Setup & Extensions (depending on the chosen language) is part of your Role Center, you will find the DocuTie Setup in the menu "Manual Setup" too.
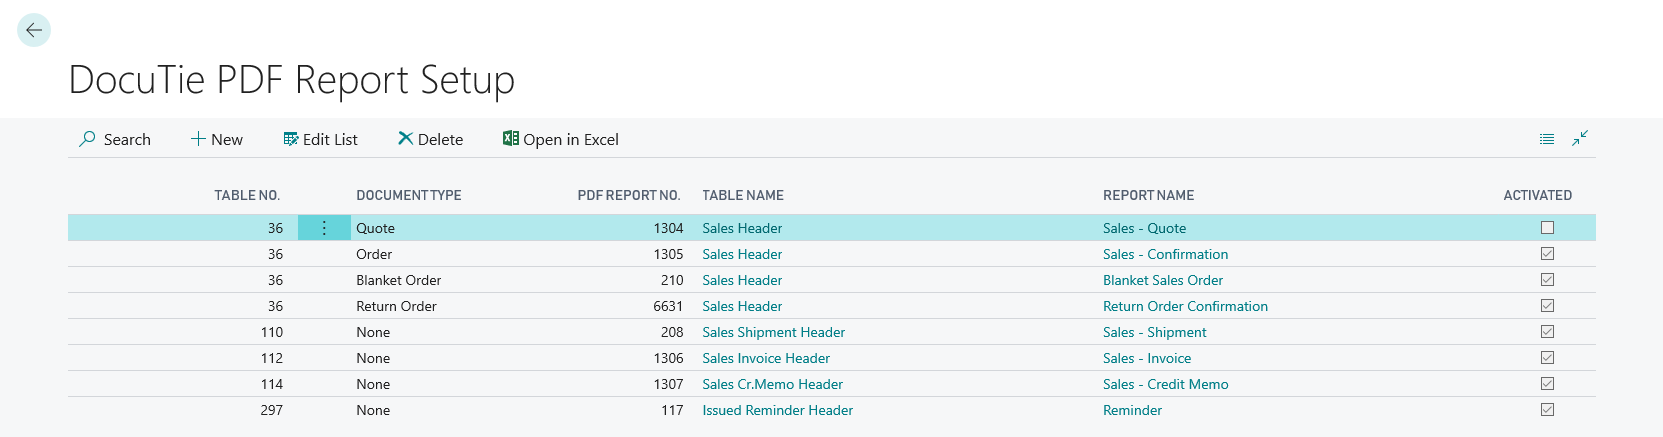
DocuTie PDF Report Setup
DocuTie will save and link the printed version of outbound documents (like e.g. Quotation, Delivery Note, Invoice, etc.) when you print or send them. Learn more about this in our tutorial.
If you change the Dynamics 365 Business Central "Report Selection - Sales" after installing DocuTie, then open the DocuTie "PDF Report Setup" and assign the desired reports there.
To do this, open the DocuTie "PDF Report Setup" from the menu "Related Setups - PDF Report Setup" from the DocuTie setup.
User Setup
You will be able to use DocuTie without going through the setup. All important settings have been set during the installation. Your content is protected from being changed or deleted by the default settings.
However, if you want to allow users to delete content, you can explicitly allow the user to do so in the User Setup.
Access the DocuTie setup as described above. Start the User Setup from the menu "Navigate - User Setup".
Add users  and activate the property "Delete Allowed" for those users that should be able to delete content.

Subscription wizard
Access the DocuTie setup as described above. Start the subscription wizard from the menu "Actions - Functions - Subscription Wizard".
Find further information about managing your DocuTie subscription here.